



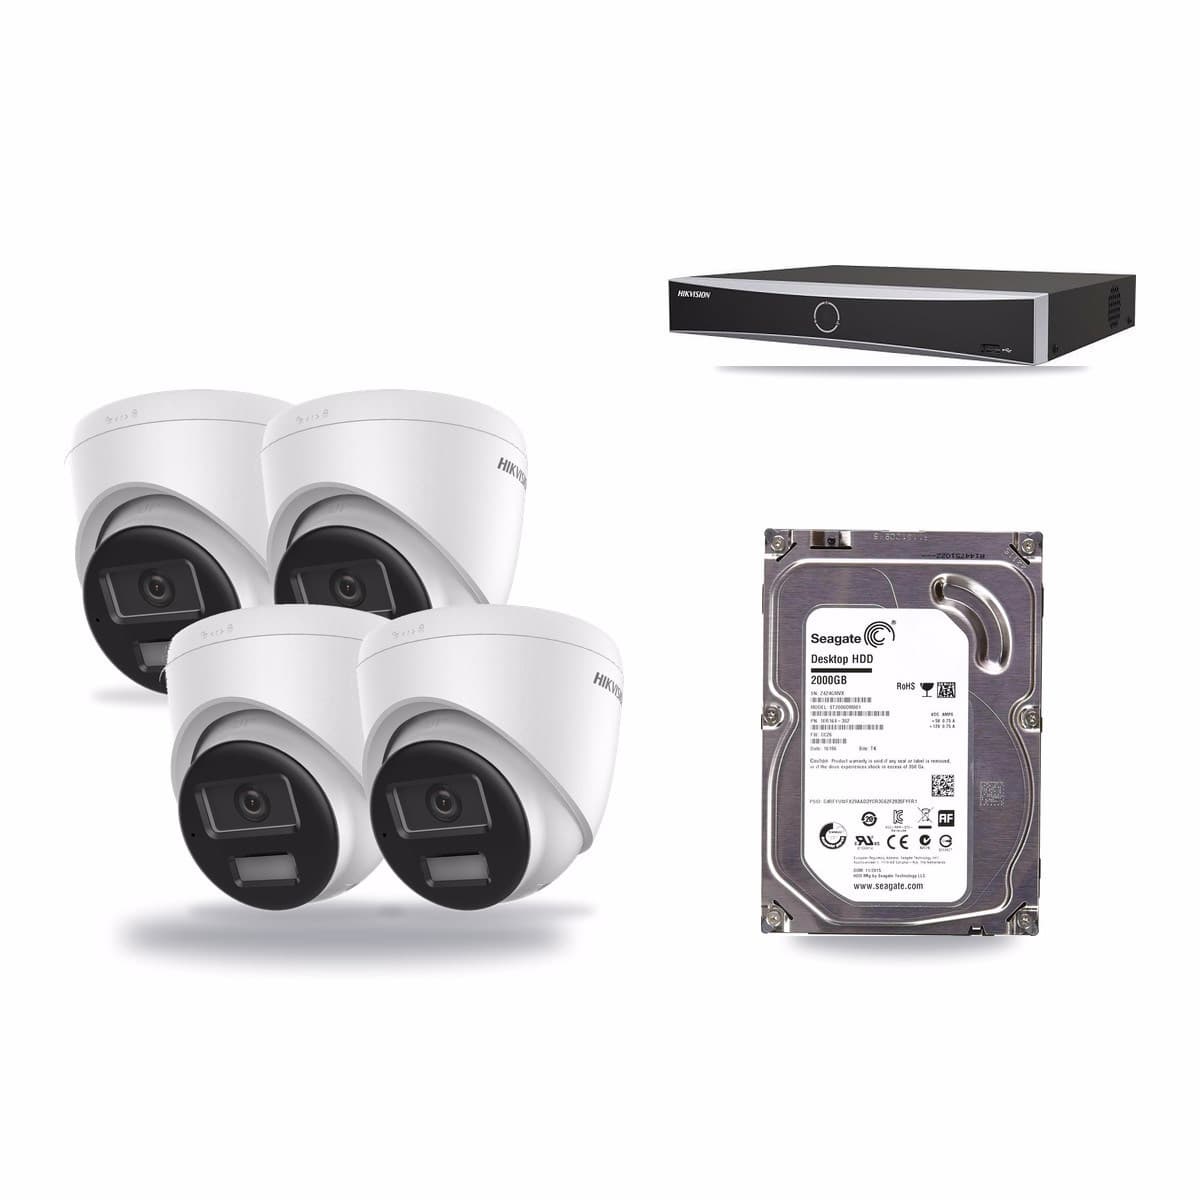
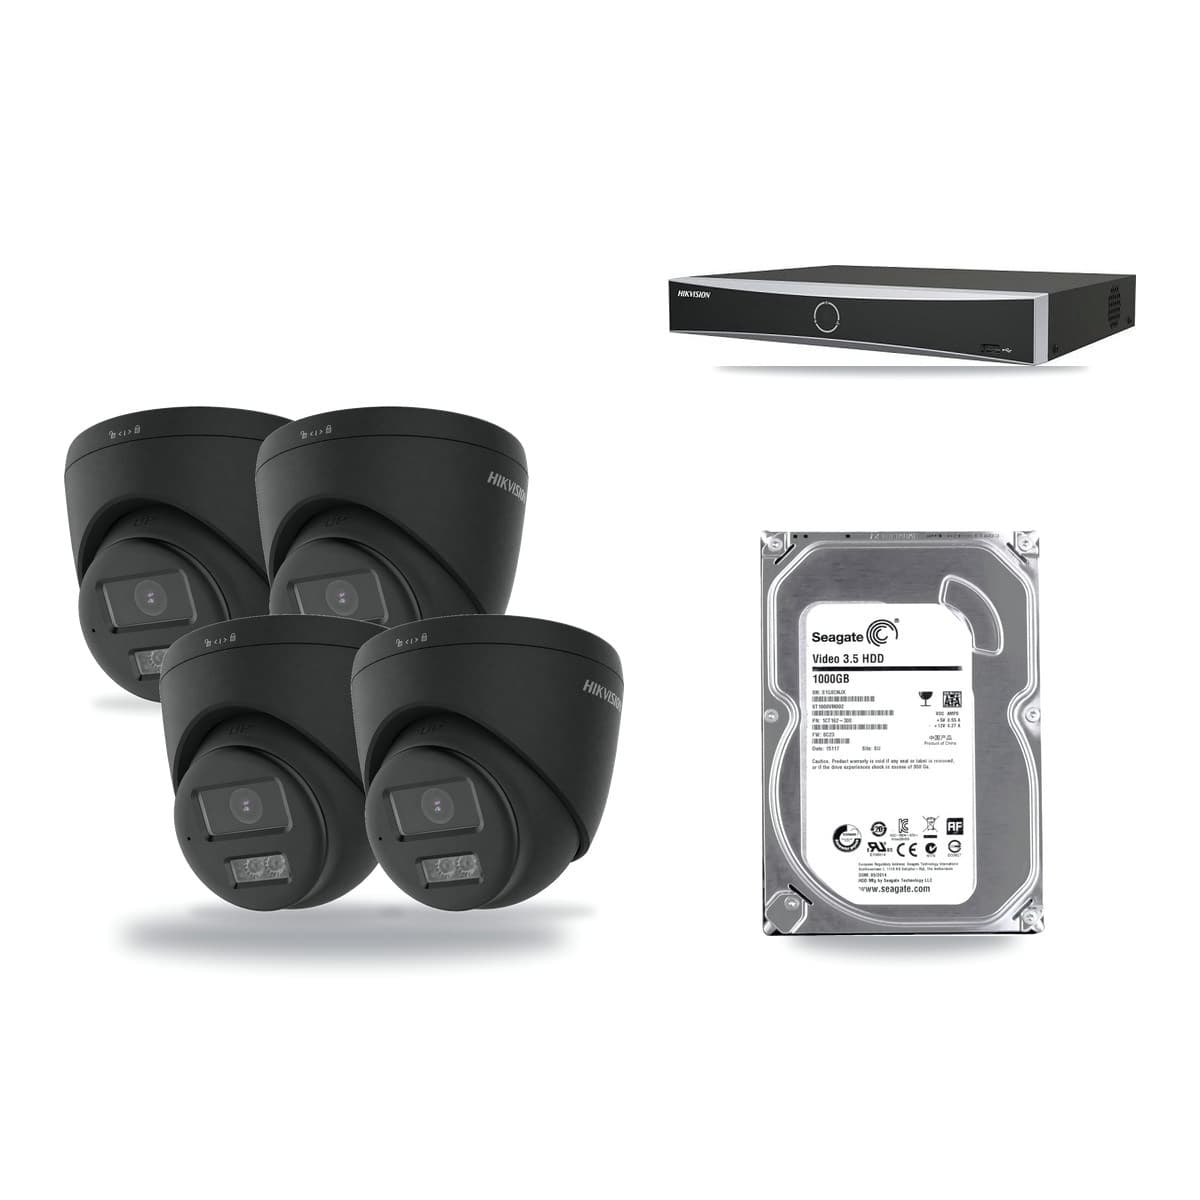
Set up a CCTV camera kit in this order: unpack and check the box, test everything together on a table, plan each cable route, fit the cameras, connect the recorder, then set up the screen and the app. Testing before you drill is the step that saves most time, because a fault is far easier to find with the cameras on a table than on a ladder. This guide follows a PoE (network) kit, such as our Hikvision 4-channel 8MP kit, where one Cat6 lead carries both picture and power.
1. Unpack and check the box
Lay out everything and compare it with the kit page. The Hikvision 4-Channel 8MP CCTV Kit with 4 cameras and 2TB holds a DS-7604NXI-K1/4P recorder with the 2TB hard drive already fitted, four DS-2CD1383G2-LIU 8MP turret cameras, a 1.5m HDMI cable and four 20m Cat6 patch cables. A monitor or TV is not in the box, so have one with an HDMI input ready. You will also need a drill and bits.
2. Test on the bench first
Put the recorder on a table near a mains socket and a screen. Join each camera to one of the recorder's PoE ports with a network lead, plug the HDMI cable into the screen and switch the recorder on. Because the cameras take their power from the recorder over the network lead, there are no power supplies to connect. Follow the recorder's own on-screen setup and its manual to set a password and see all four pictures. If a picture is missing now, swap the lead or the port; you have not made a hole yet.
3. Plan the cable routes
Decide where the recorder will live: somewhere every lead can reach, close to a mains socket and the screen. Then measure each run from the recorder to its camera spot along the route the cable will actually take, round corners and through the wall, not in a straight line. Each lead in the box is 20m, so ask us before ordering if any camera is further away. Our guide to where to place cameras helps you choose the spots.
4. Mount the cameras and run the cables
Fix each camera at its spot, feed the lead through a hole in the wall and take it back to the recorder. PoE keeps this simple: one lead, one hole, and no mains socket needed at the camera. Before you drill the final holes, hold each camera in place and check its picture on the screen.
5. Connect the recorder
Move the recorder to its permanent spot, plug each camera lead into a PoE port, connect the HDMI cable to the screen and switch on. The hard drive is already fitted, so the recorder is ready to record once it is set up. If you want to see the cameras away from home, connect the recorder to your router with a network lead.
6. Check the view and the legal basics
Look at each live picture. The Information Commissioner's Office (ICO) says that where possible you should position cameras to capture only your own property. If a camera also captures someone else's property or a public area, data protection law applies, and you must put up signs showing CCTV is in operation. Read the ICO guidance on home CCTV systems and the GOV.UK guidance on domestic CCTV, and turn a camera if its view reaches a neighbour's garden.
7. Set up the app
The recorder works with Hikvision's Hik-Connect app, which lets you view the cameras from a phone. Follow the recorder's manual to add it to the app. This needs the recorder on your router.
Which kit to set up
Count the spots you want covered before you buy, then pick a kit with that many cameras. See the IP (PoE) kits and all 4 camera kits, or every set in CCTV kits.